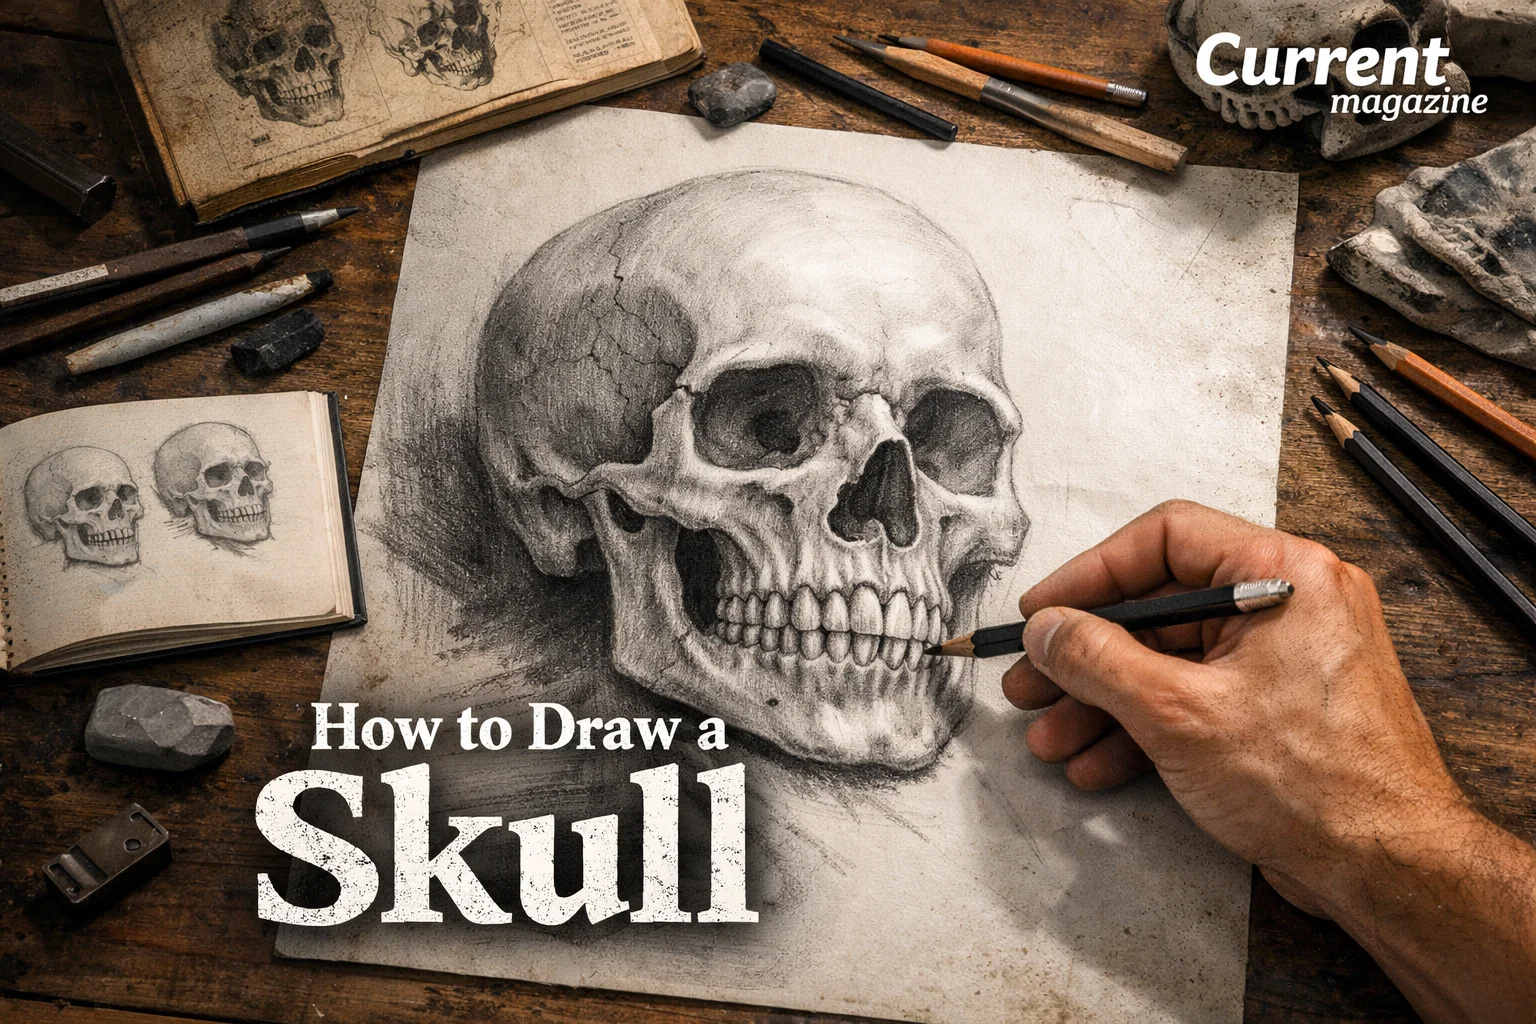
How to Draw a Boat – Easy and Fun Step-by-Step Tutorial for Kids
A Fun and Easy Step-by-Step Guide to Drawing Your Own Boat!
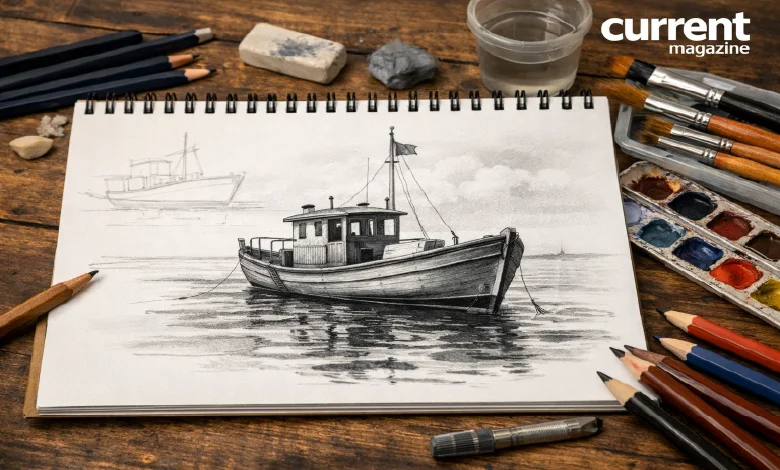
Learn how to draw a boat with simple steps and easy techniques. This guide shows you how to draw different types of boats, from sailboats to fishing boats. Discover basic drawing shapes, shading tips, and how to add realistic details to your boat drawings.
Why Learning to Draw a Boat Is Fun and Useful
Drawing boats is an enjoyable skill that works for everyone—whether you’re a complete beginner or someone improving your art. Boats are interesting subjects with clear shapes and details that help you practice fundamental drawing skills.
Learning to draw a boat teaches you about:
- Using basic shapes to build complex objects
- Perspective and proportions
- Shading and texture
- Adding water and scenery
- Creating realistic details
Plus, boats are satisfying to draw. You start with simple lines and end with something that looks real and impressive.
What You’ll Need to Get Started
Basic drawing supplies:
- Pencil (HB or #2 pencil works great for beginners)
- Eraser (a kneaded eraser is best—it doesn’t leave marks)
- Paper (regular printer paper or sketch paper)
- Ruler (optional but helpful for straight lines)
- Sharpener (keep your pencil sharp for detail work)
Optional supplies:
- Colored pencils or markers (to add color)
- Blending stumps (to smooth shading)
- Fine-tip pens (to add final details)
You don’t need expensive art supplies to start. Regular pencils and printer paper work fine.
Understanding Basic Boat Shapes
Before you draw, understand the main shapes that make up a boat.
The Hull The hull is the bottom part of the boat—the part that floats on water. It’s typically shaped like a curved rectangle or a triangle viewed from the side. The curve helps it cut through water smoothly.
The Bow The bow is the front of the boat. It’s usually pointed or rounded to help the boat move through water efficiently.
The Stern The stern is the back of the boat. It’s usually flatter or more squared than the bow.
The Deck The deck is the flat surface on top where people stand. It’s usually rectangular.
The Cabin (for some boats) Many boats have a small house-like structure called a cabin where the driver sits.
The Mast and Sails (for sailboats) Sailboats have a tall vertical pole (mast) with fabric sails attached.
Understanding these parts helps you draw boats that look realistic.
Method 1: How to Draw a Simple Sailboat
This is perfect for beginners. A sailboat has clear, simple shapes.
Step 1: Draw the Hull
- Lightly sketch a curved line for the water line where the boat sits
- Below this line, draw a triangle shape for the hull
- The triangle’s point should face forward (the bow)
- Make the back edge roughly vertical (the stern)
Don’t worry about making it perfect—light sketches are easy to fix.
Step 2: Draw the Mast
- From the top of your hull, draw a long, straight vertical line
- This is the mast—it should be the tallest part of your boat
- Make it slightly off-center if you want it to look more natural
Step 3: Add the Sails
- Draw the mainsail (bigger sail) as a large triangle
- The mast is one edge of this triangle
- Make the sail fill most of the space above the boat
- Add a second, smaller triangle for the jib sail (front sail)
- This sail is in front of the mast and slightly smaller
Step 4: Add Details to the Deck
- Draw a simple line across the top of the hull for the deck
- Add a small cabin (rectangle) on the deck if you want
- Add a wheel or steering area
Step 5: Erase Guidelines
- Erase extra lines you used for sketching
- Darken the main outline with your pencil
- Your sailboat shape is now complete
Step 6: Add Shading
- Identify where light comes from (usually top-left)
- Shade the side of the hull away from the light
- Shade under the sails to show they’re curved
- Leave the sunny side lighter
- Use gentle pencil strokes for realistic shading
Step 7: Draw the Water
- Add wavy lines below the boat
- Make some waves darker, some lighter
- Add reflections of the boat in the water
- This makes the boat look like it’s actually floating
Your sailboat is done!
Method 2: How to Draw a Fishing Boat
Fishing boats have a different shape than sailboats. They’re stockier and have cabins.
Step 1: Draw the Hull
- Sketch a rounded rectangle for the hull
- Make it wider than a sailboat’s hull
- The front (bow) should be slightly pointed
- The back (stern) should be rounded
Step 2: Draw the Cabin
- On top of the hull, draw a rectangle for the cabin
- Make it proportional—not too big, not too small
- The cabin should be about 1/4 to 1/3 the width of the boat
Step 3: Add the Wheelhouse
- On top of the cabin, draw a smaller rectangle for the wheelhouse
- This is where the captain steers the boat
- Add small windows to the wheelhouse (rectangles)
Step 4: Add Details
- Draw railings around the deck (horizontal lines)
- Add an anchor on the bow (side view of an anchor shape)
- Add a smokestack or chimney (rectangle extending up)
- Draw fishing equipment (nets, ropes, or a crane)
Step 5: Refine Your Lines
- Erase light sketch marks
- Darken the main outline
- Make sure proportions look right
Step 6: Add Shading and Texture
- Shade the hull darker on the side away from light
- Add water ripples around the boat
- Shade windows and cabin to show dimension
- Add texture with short lines (especially on decks)
Step 7: Draw Detailed Water
- Add waves around the boat
- Make some waves behind the boat to show movement
- Add water spray if the boat is moving fast
- Include reflections
Your fishing boat is complete!
Method 3: How to Draw a Speed Boat
Speed boats are sleek and modern-looking.
Step 1: Draw the Basic Shape
- Start with a long, narrow shape for the hull
- Point the front sharply (aerodynamic bow)
- Taper the back to a point
- Speed boats are much more streamlined than other boats
Step 2: Add the Windshield
- Draw a windshield at the front of the boat
- Make it slanted to look aerodynamic
- Add a small cabin behind the windshield
Step 3: Add Details
- Draw a steering wheel or console (small rectangles)
- Add seating (simple rectangles)
- Draw railings or grab handles
- Add a powerful engine sound area at the back
Step 4: Add Speed Lines
- Draw curved lines behind the boat showing motion
- These lines should follow the direction the boat is moving
- Speed boats look best when they appear to be moving fast
Step 5: Shade for Sleekness
- Shade to emphasize the boat’s smooth, curved form
- Make the shading blend smoothly (no harsh lines)
- Highlight areas where light reflects off the smooth hull
Step 6: Complete the Water
- Draw dramatic waves from the boat’s wake
- Make waves bigger and more dynamic
- Add white spray for speed effect
Method 4: How to Draw a Rowboat
Rowboats are simple and great for beginners.
Step 1: Draw the Hull
- Sketch a simple oval or rounded rectangle for the hull
- Make it symmetrical (same on both sides)
- Rowboats are short and compact
Step 2: Add the Seats
- Draw one or two horizontal lines across the boat for seats
- These are called benches or thwarts
Step 3: Add Oars
- Draw two long sticks extending from the sides
- At the ends, add paddle-like shapes (oar blades)
- Make the oars symmetrical
Step 4: Add Details
- Add a small rope or mooring line at the front
- Add simple details like a small storage area
Step 5: Shade and Complete
- Shade to show the rounded hull form
- Add water around the boat
- Show ripples from the oars touching water
Tips for Drawing Realistic Boats
Use a Ruler for Straight Lines The masts, cabin edges, and railings should be straight. A ruler helps.
Understand Perspective Objects farther away appear smaller. If you’re drawing a boat with depth, make distant parts slightly smaller.
Study Real Boats Look at photos of real boats before drawing. Notice details, proportions, and how light hits them.
Keep Proportions Consistent If the hull is 3 inches long, the cabin shouldn’t be 4 inches. Measure with your pencil or eye.
Shade Gradually Build up shading with light strokes. It’s easier to add more shade than to remove it.
Use Different Pencil Strokes
- Light strokes for water and distant objects
- Medium strokes for the boat
- Dark strokes for details and shadows
Leave Highlights Don’t shade the entire boat. Leave some white paper to show where light reflects.
Pay Attention to Reflections Water mirrors the boat. Show reflections below the boat in the water.
Common Mistakes to Avoid
Mistake 1: Making the Boat Too Tall Boats are wider than they are tall. If your boat looks like a rectangle standing up, make it wider.
Mistake 2: Forgetting the Water A boat floating in white space looks flat. Always draw water around it.
Mistake 3: Shading Too Dark If you shade too heavily, your boat looks muddy. Use light, gradual shading instead.
Mistake 4: Making the Bow Too Pointed Most boats have rounded or gently pointed bows. Extremely sharp points look unrealistic.
Mistake 5: Uneven Proportions If one side of the boat is bigger than the other, it looks wrong. Compare both sides as you draw.
Mistake 6: Ignoring the Horizon Line A boat should sit on the water line clearly. Draw a horizon line to anchor your boat in space.
Mistake 7: Forgetting Details Small details (railings, windows, ropes) make boats look real. Don’t skip them.
Adding Color to Your Boat Drawing
Once your pencil drawing is complete, you can add color.
Colored Pencil Method:
- Keep your lines light so color covers them
- Use light pressure at first
- Layer colors—apply light colors first, then darker ones
- Blend colors where they meet
Marker Method:
- Markers dry quickly, so work fast
- Start with light colors
- Add darker colors last
- Let ink dry before adding details
Painting Method:
- You’ll need watercolors or acrylics
- Paint large areas first
- Add details after the base coat dries
- Use a fine brush for details
Common Boat Colors:
- Hulls: White, blue, red, or black
- Sails: White, red, or colorful patterns
- Cabin: White or blue
- Water: Blue with white highlights
- Sky: Light blue or gray
How to Draw Boat Details
Windows:
- Draw simple rectangles
- Shade inside to show depth
- Add a white highlight on one corner
Railings:
- Draw parallel horizontal lines
- Add vertical posts between them
- Space them evenly
Anchors:
- Draw a curved hook shape at the bottom
- Add a vertical line up the center
- Draw a small ring at the top
Ropes:
- Use curved lines
- Shade one side darker to show the rope is rounded
- Make rope hang naturally (not stiff)
Portholes (round windows):
- Draw circles
- Shade the bottom darker
- Leave a small white highlight
Propeller:
- Draw a hub (center circle)
- Add 3-4 curved blades
- Shade the blades to show they’re 3D
Water and Waves
Water makes your boat drawing complete.
Simple Water:
- Draw gently wavy lines
- Make some waves darker (shadows)
- Make some lighter (highlights)
- Keep lines flowing in one direction
Ocean Waves:
- Draw larger, more dramatic waves
- Add white water at the wave tops
- Show the boat riding up or down a wave
- Add water spray
Calm Water:
- Use gentle, barely visible waves
- Show clear reflections of the boat
- Add slight ripples where the boat touches water
Wave Perspective:
- Waves closer to you are larger
- Waves farther away are smaller
- This creates depth
Practice Exercises
Exercise 1: Draw the Same Boat Three Ways Draw one sailboat three times: once lightly shaded, once heavily shaded, and once in color.
Exercise 2: Different Water Conditions Draw the same boat in calm water, rough water, and stormy water.
Exercise 3: Different Angles Draw a boat from the side (profile), from slightly below (looking up), and from above (looking down).
Exercise 4: Boat Perspective Draw three identical boats: one very close (large), one medium distance (medium size), one far away (small).
Exercise 5: Speed and Motion Draw a stationary boat, a boat moving slowly, and a boat moving fast (show motion in the water).
10 FAQs About Drawing Boats
- Do I need to be talented to draw boats?
No. Drawing is a skill you develop with practice, not a talent you’re born with. Anyone can learn to draw a boat by following steps and practicing. Start simple and work your way to more complex boats as you improve. - What’s the best pencil for drawing boats?
An HB or #2 pencil is perfect for beginners. If you want variation, get an HB (medium), a B (softer/darker), and an H (harder/lighter). Softer pencils (B) are better for shading. Harder pencils (H) are better for detail lines. - How long does it take to draw a boat?
A simple sailboat takes 10-15 minutes. A detailed fishing boat takes 30-45 minutes. A highly detailed, shaded boat with water takes 1-2 hours. Speed depends on your skill level and how detailed you want to be. - Can you draw a boat without a ruler?
Yes, but it’s harder. A ruler helps you draw straight lines for masts, railings, and cabin edges. If you don’t have a ruler, draw freehand and carefully. Practice helps you draw straighter lines without tools. - What if you make a mistake while drawing?
Use an eraser to remove the mistake and redraw. Light pencil marks erase easily. If you use pen, you can’t erase, so use pencil for the initial sketch. Some artists intentionally leave mistakes as part of their style. - Should you use reference photos when drawing boats?
Absolutely yes. Looking at real boat photos helps you understand proportions, details, and how light reflects off boats. Begin with a simple boat shape, then add details based on photos. This combines simplicity with realism. - How do you make a boat look 3D?
Use shading to show dimension. Shade one side of the hull darker than the other. This shows that one side is in shadow and one is in light. Also, overlap objects (the cabin in front of the mast) to show depth. - What’s the hardest part of drawing a boat?
The hardest parts for beginners are usually perspective (making the boat look 3D), proportions (keeping the hull and cabin the right sizes), and shading (making it look realistic). Practice these skills separately and they become easier. - Can you draw a boat on a computer or tablet?
Yes. Digital drawing works great for boats. You use drawing apps like Procreate, Clip Studio, or Photoshop. The principles are the same as pencil drawing—shapes, shading, perspective. Digital has advantages like easy undo and color options. - How do you improve your boat drawing skills? Practice regularly—draw several boats per week. Study different boat types. Copy drawings of boats you admire. Watch tutorial videos. Draw from photos. Join art communities online and get feedback. The more you draw, the better you become.
Final Thoughts
Drawing a boat is an achievable goal for anyone willing to practice. Start with a simple sailboat, master the basic shapes, and gradually add details and complexity.
The most important thing is to start. Don’t worry about perfection. Every artist started as a beginner. Your first boat drawing might not look perfect, but your tenth will be much better, and your hundredth will be impressive.
Remember: light sketch lines first, darken when you’re happy with the shape, add shading and details last. Take your time. Study real boats. Practice regularly.